Mouse Sensitivity Converter: Match Your Aim in Every Game
You've spent weeks getting comfortable with your sensitivity in Valorant. Then a friend convinces you to try CS2. Suddenly, nothing feels right. Your crosshair overshoots. Your flicks land two inches off. Your muscle memory is fighting you.
That's not a skill problem. That's a math problem.
This free mouse sensitivity converter solves it in under ten seconds. Enter your current game, your DPI, and your in-game sensitivity. Select the new game. The tool gives you the exact number to use, so your aim feels identical from day one.
Mouse Sensitivity Converter
Leave DPI empty to skip cm/360° and eDPI — the sensitivity conversion stays accurate either way.
Counter-Strike 2 / CS:GO → Valorant
Converted sens
0.629
for target game
cm / 360°
26.0
cm
eDPI
1,600
dpi × sens
How to Use the Mouse Sensitivity Converter
The whole process takes about 30 seconds. Here's exactly what to do.
Step 1: Enter Your Current Setup
Select your source game from the dropdown, the one you already play and feel comfortable in. Then type in your DPI (the number set in your mouse software like Logitech G Hub, Razer Synapse, or SteelSeries GG) and your current in-game sensitivity.
If you're not sure what DPI your mouse is actually running at, don't guess. A mouse set to 800 DPI can physically output 825 DPI depending on the sensor and surface. Run a quick test with our DPI Analyzer first to confirm your real number.
Step 2: Choose Your Target Game
Pick the game you want to convert to. The tool handles the math automatically; it uses each game's native yaw value (the engine-specific rotation factor) to produce a conversion that feels genuinely identical, not just numerically close.
CS2 uses a yaw of 0.022. Valorant uses a different multiplier entirely. Apex, Fortnite, and Overwatch each have their own. You don't need to know these numbers; the converter does.
Step 3: Use the CM/360 Output as Your Reference
The tool also shows your CM/360, how many centimeters you physically move your mouse to complete one full 360-degree rotation in-game. This number is your universal aim fingerprint. It stays the same across all games when you convert correctly.
Write it down. It's more useful than any sensitivity number.
What Is a Mouse Sensitivity Converter?
A mouse sensitivity converter is a tool that translates your aim settings from one game to another. It makes sure the same physical hand movement produces the same crosshair movement in every game you play.
Here's why this matters. Every game handles mouse input differently. The number "2.0" in CS2 does not feel the same as "2.0" in Valorant. The engines use different scaling formulas. So a raw copy-paste of sensitivity numbers will always feel off.
A sensitivity calculator removes that guesswork. It takes your known settings, applies the correct engine-specific math, and outputs a number that preserves your muscle memory across any supported game.
This problem comes up constantly among players switching between games. Someone who has played on Battlefield for years moves to CS2 and immediately notices their crosshair behaves completely differently, even when they carry over their same DPI and sensitivity number. The numbers look the same on screen. The physics are not.
What Is eDPI and Why Does It Matter?
eDPI stands for Effective DPI. It's calculated by multiplying your hardware DPI by your in-game sensitivity:
Formula
So 800 DPI × 0.4 in Valorant = 320 eDPI. And 400 DPI × 0.8 in Valorant = 320 eDPI. They're the same. Your crosshair moves the same amount per physical inch of mouse movement.
eDPI is the number that actually describes your aim speed. Two players can have completely different DPI and sensitivity settings and still have identical aim feel if their eDPI matches.
A lot of players don't realise this. Someone running 1600 DPI and 2.0 in-game and someone running 800 DPI and 4.0 in-game are playing at the same effective speed. eDPI is the only number that matters for comparison. It's also where a lot of the confusion around Overwatch comes from; players see a sensitivity listed as "10%" and have no idea whether that's fast or slow without calculating the actual eDPI first.
Most competitive FPS players fall in a specific eDPI range depending on the game:
| Game | Typical Pro eDPI Range | Notes |
|---|---|---|
| CS2 / CS: GO | 400 – 1,000 | Exceptionally low. Precision over speed. |
| Valorant | 200 – 800 | Even lower than CS2 for top-ranked players. |
| Apex Legends | 800 – 2,000 | Higher movement demands allow more sensitivity. |
| Overwatch 2 | 3,000 – 7,000 | Completely different scaling system. |
| Fortnite | 50 – 80 (% scale) | Uses percentage, not standard sense. |
The Overwatch range looks shockingly high compared to CS2, but that's by design. Overwatch's engine scales mouse input differently, so an eDPI of 4,800 in Overwatch plays nothing like 4,800 eDPI in CS2. This is exactly why you can't compare raw eDPI numbers across different games, and why a proper converter is the only reliable way to carry your feel across titles.
Once you know your eDPI from one game, use our eDPI calculator to double-check your numbers before applying the conversion.
What Is CM/360: And Why Gamers Use It Instead
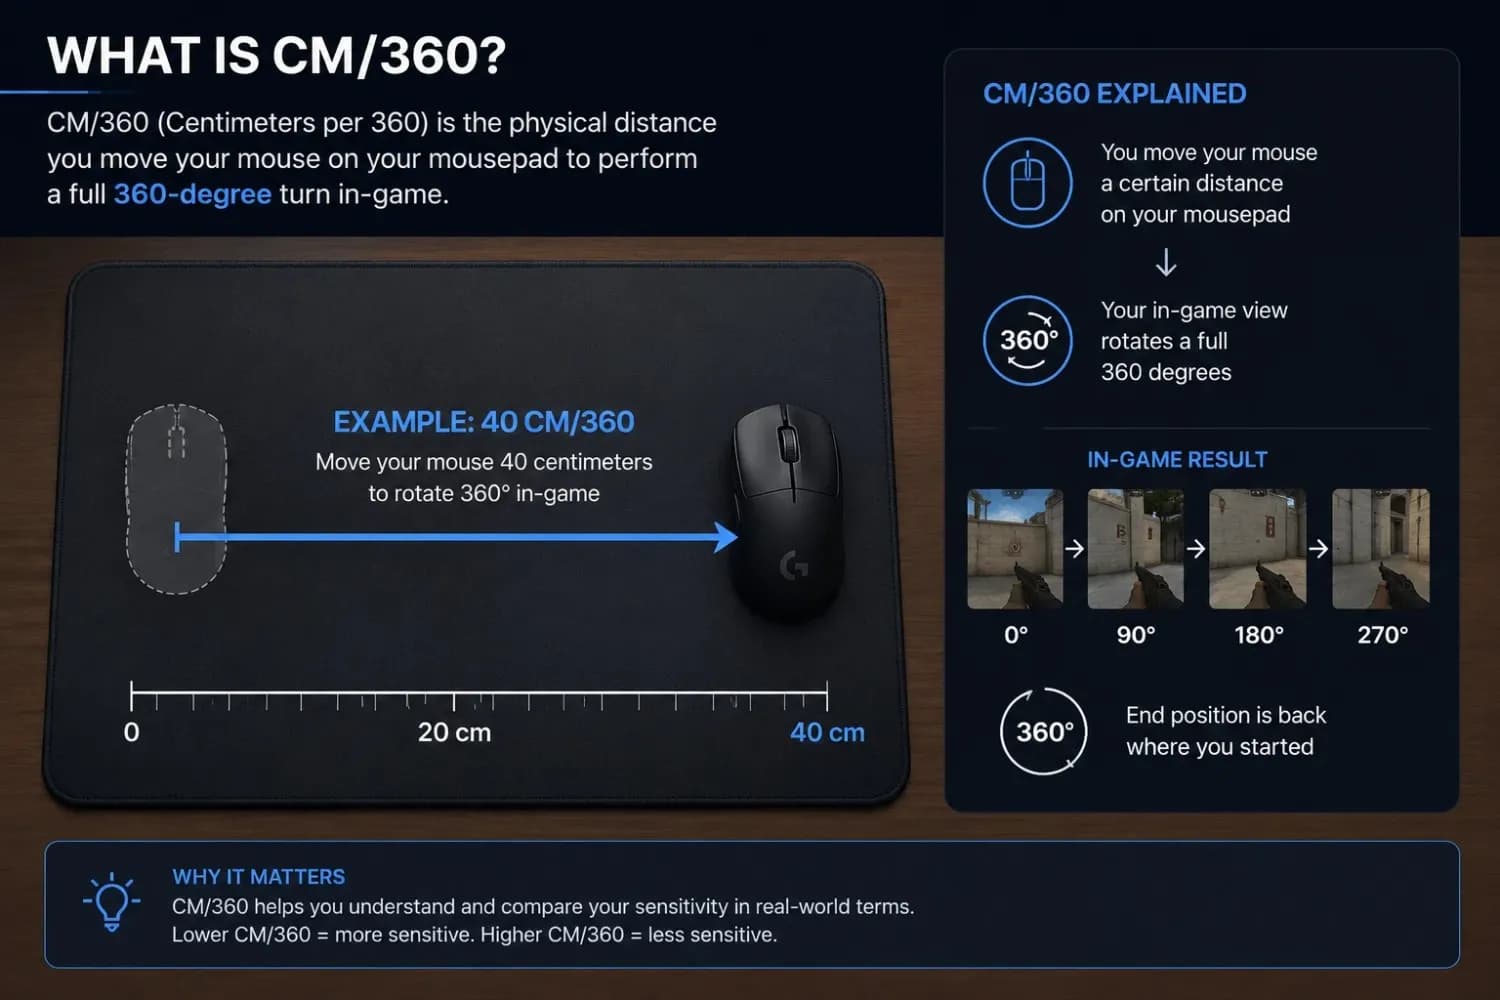
CM/360 (centimeters per 360) is the gold standard for describing mouse sensitivity. It tells you how far you physically need to move your mouse across your pad to spin your character around completely in-game, one full rotation.
Unlike sensitivity numbers, CM/360 is game-agnostic. It doesn't change based on engine or DPI. Two setups with completely different hardware and software settings can produce the same CM/360, and they will feel identical.
Here's a real-world example that keeps coming up in FPS communities:
Real-world example
This is exactly the kind of issue that newer players run into when they switch games and can't understand why their aim feels broken. The sensitivity number looks fine. The actual feel is completely different.
Many experienced players use a simple personal benchmark: one full swipe of their mousepad from edge to edge should equal roughly a 180-degree turn. That's their CM/360 target, and they build every new game's sensitivity around it. It's a reliable method that works regardless of which game you're in or what DPI you're running.
Use CM/360 as your anchor. Convert to it. Move to any game. The physics stay the same.
Supported Games and How Conversion Works
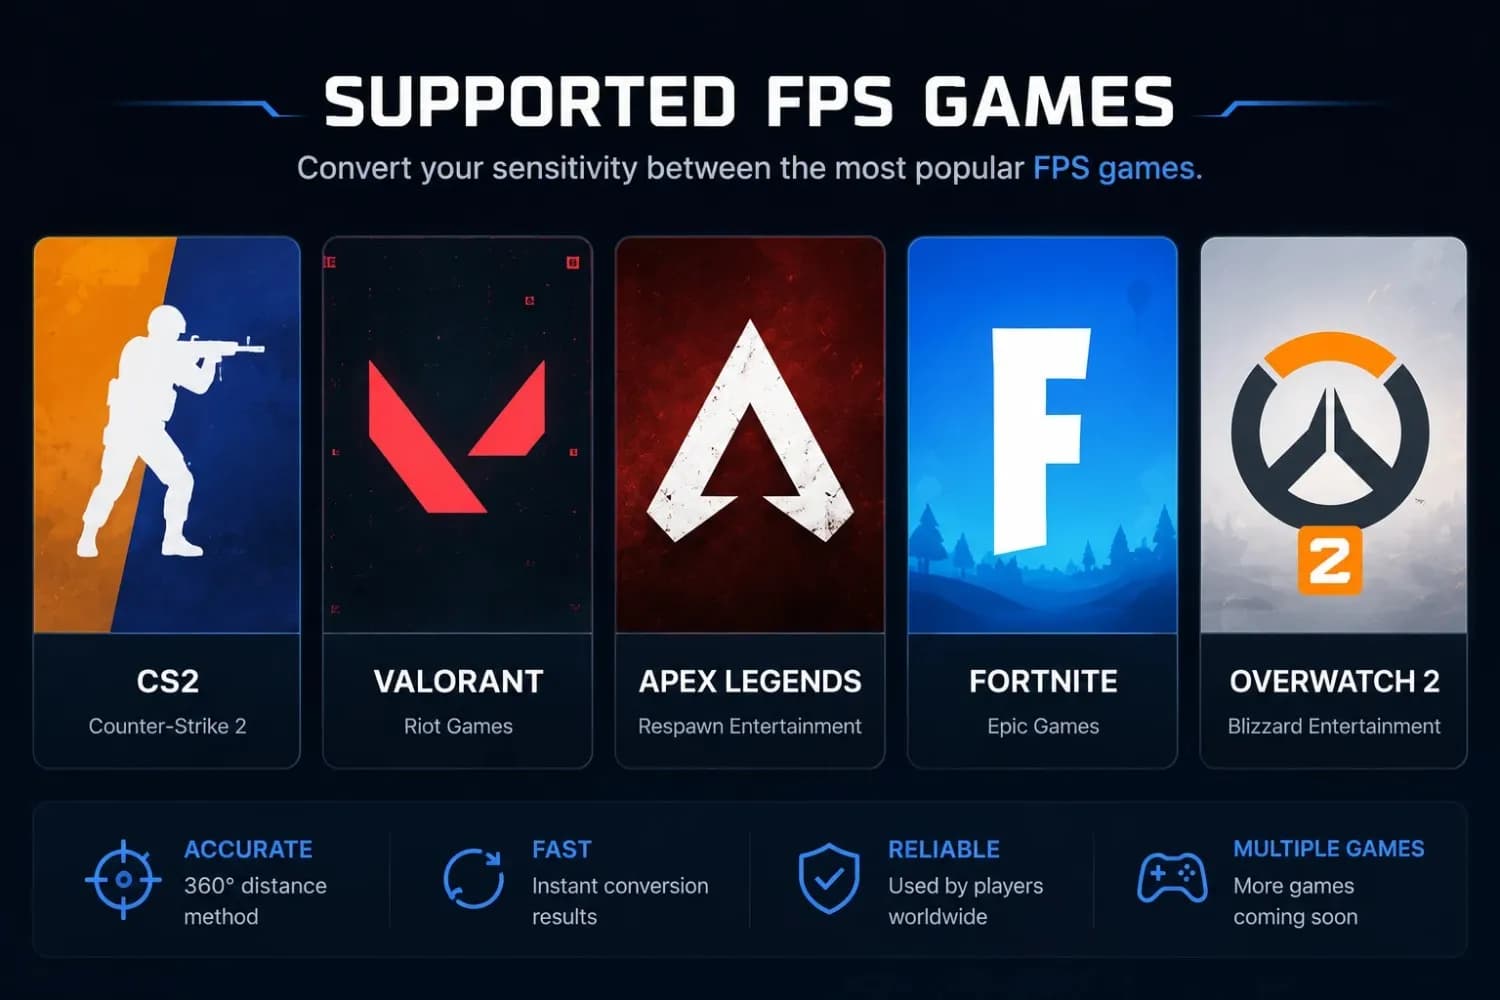
The converter supports all major FPS titles. Each game stores mouse movement data differently, so the tool applies game-specific formulas behind the scenes. You just select, input, and convert.
| Game | Sensitivity Scale | Notes for Conversion |
|---|---|---|
| CS2 | 0.1 – 10.0 (typical: 1.0–2.5) | Uses Source Engine yaw (0.022). Industry baseline. |
| Valorant | 0.1 – 10.0 (typical: 0.2–0.8) | Different multiplier from CS2 despite the same scale. |
| Apex Legends | 1.0 – 3.0 (typical: 1.0–1.5) | ADS and hipfire are separate; hipfire is converted. |
| Fortnite | 1% – 100% (typical: 6–10%) | Percentage-based scale. Much lower numbers. |
| Overwatch 2 | 1 – 100 (typical: 4–7) | Different system, eDPI ranges look very different. |
| Battlefield 2042 | 1 – 200+ | Large scale; requires careful conversion. |
| Rainbow Six Siege | 1 – 100 | Scope sensitivities vary by magnification. |
The tool also handles DPI changes within the conversion. If you're switching from 800 DPI to 400 DPI and changing games at the same time, it accounts for both shifts and gives you one clean output number. For the CS2-Valorant pair specifically, our Valorant to CS2 conversion walkthrough breaks down the exact multipliers.
Why Getting Sensitivity Right Actually Affects Your Rank
A CS2 player posted asking whether their high eDPI, over 5,000, was holding them back. They'd been stuck in Silver despite 400 hours of play. The overwhelming consensus from the community: yes, significantly. In this thread, dozens of experienced players explain that anything above 2,000 eDPI actively limits precision at range in CS-style games.
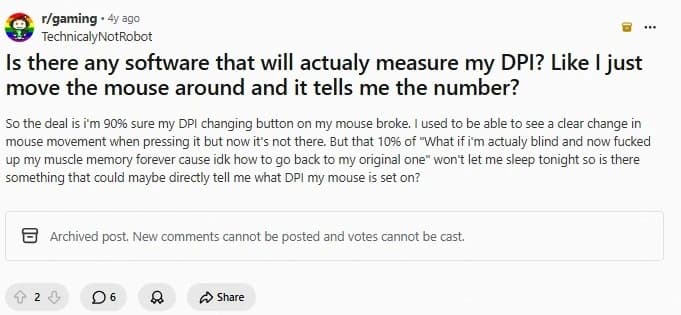
The player dropped from 3,200 DPI with 1.57 in-game to 3,200 DPI with 0.35 in-game (roughly 1,120 eDPI). Within one deathmatch session, their spraying felt more controlled, and their shot accuracy improved noticeably.
This pattern repeats across every competitive FPS community. Players who grew up using high DPI, sometimes 3,200 or more, often don't question it because the setting has always felt normal to them. The mouse moves, the crosshair moves. It works. What they don't realise is that at that sensitivity, making a 2-pixel micro-adjustment at long range is nearly impossible. The margin for error is too small.
The same issue shows up in Overwatch. Players running 3,200 DPI at 10% in-game sensitivity are operating at roughly 32,000 eDPI, more than four times what most high-level players use. Dropping to 1,200 DPI at the same in-game percentage puts them closer to 12,000 eDPI, which is still on the higher side for the game but far more controllable. The aim of improvement tends to be noticeable within the first session.
What made the difference in both cases wasn't talent or practice time. It was a calibrated sensitivity. And if you're switching games, the only way to preserve that calibration is to use a proper converter, not trial and error.
DPI vs In-Game Sensitivity: What's the Actual Difference?
These two settings get confused constantly. Here's how they actually work:
| Setting | Where It Lives | What It Controls | Can You Change It Mid-Game? |
|---|---|---|---|
| DPI | Mouse hardware/driver software | How many pixels does the cursor move per physical inch | No, requires mouse software or a DPI button |
| In-Game Sensitivity | Game settings menu | A multiplier applied on top of DPI by the game engine | Yes, in the settings menu anytime |
| eDPI | Calculated value | Your real-world aim speed (DPI × sensitivity) | N/A, changes when either value changes |
| CM/360 | Calculated from eDPI + game engine | Physical mouse distance for one full rotation | N/A, universal measurement |
A higher DPI with a proportionally lower in-game sensitivity gives the same eDPI as a lower DPI with higher sensitivity. Many players run 800 or 1600 DPI for smoother tracking behavior at the hardware level, then dial back their in-game sensitivity to match their preferred CM/360. If your DPI ever changes, our DPI Analyzer can confirm the real output before you recalculate. For sensible starting points, see our DPI recommendations by use case.
One important note: changing your DPI in software and changing your in-game sensitivity are not interchangeable at a technical level. DPI affects how the hardware reports movement to the OS. In-game sensitivity is a software multiplier that acts after the fact. For competitive play, most experienced players set DPI once and adjust only in-game sensitivity from that point.
There's also a common misconception that you can adjust mouse DPI through Windows Display Settings by changing the Scale and Layout percentage. That changes the size of your desktop UI, not your mouse sensitivity. To change actual DPI, you need your mouse's own software (like Logitech G Hub, Razer Synapse, or SteelSeries GG) or a physical DPI button on the mouse itself.
Does Your Mouse Pad Surface Affect Sensitivity Conversion?
Yes, more than most players expect. Your mouse pad surface affects the physical DPI output your sensor actually delivers, which directly impacts the accuracy of any sensitivity conversion.
Cloth pads create micro-friction as the mouse glides across them. This resistance causes the optical sensor to slightly under-report movement, meaning the DPI you have set in software is not exactly what your sensor is delivering. Hard surface pads and glass pads track more cleanly with less variance, which tends to produce more consistent readings.
This matters for conversion because if your real hardware DPI is drifting from the configured value, then the sensitivity number the converter calculates, which is based on your stated DPI, will be slightly off. It's a small difference, but at very low sensitivities it becomes noticeable.
The fix is straightforward: measure your actual DPI with a physical test before converting, rather than trusting the number shown in your mouse software. Use the result from the real hardware test as your input, and the conversion will be accurate regardless of your surface.
Wrist Aiming vs Arm Aiming: How It Changes Your Ideal Sensitivity
Your aiming style determines which sensitivity range works best for you, and it's the part most guides skip entirely.
- Wrist aimers make most of their crosshair adjustments using small wrist movements. Because the range of motion is limited, wrist aimers generally do better at slightly higher sensitivities, typically in the 800–1,600 eDPI range. Going too low forces large arm movements for every adjustment, which breaks the natural mechanics of wrist aiming.
- Arm aimers drive mouse movement from the elbow and shoulder, using the full length of the mousepad. This style allows for much lower sensitivities; some CS2 players aim at 400–600 eDPI, because the larger range of physical motion gives precise control over individual pixels. It also requires a large mousepad, ideally 400mm or wider.
Most players don't consciously choose one style. They pick whatever feels natural when they first started, and it stays with them. If you've been on high sensitivity for years and struggle to go lower, it's worth considering whether you're a natural wrist aimer, and targeting 800–1,200 eDPI rather than forcing your way to 400.
The important thing is that once you know your preferred eDPI range and your aiming style, your sensitivity conversion becomes much more intentional. You're not just matching a number, you're carrying a complete physical system into a new game. Run a quick check with the mouse sensitivity analyzer to confirm your eDPI matches your aiming style before you convert it to another game.
Common Mistakes When Converting Mouse Sensitivity
Using Raw Sensitivity Numbers Instead of CM/360
The most common error. A player sees that a pro uses "0.45" in Valorant and copies it directly. But without knowing their DPI and whether it matches yours, that number is meaningless. Always convert by CM/360 to get a genuine match.
Forgetting That ADS (Aim Down Sights) Uses a Separate Multiplier
Hipfire and ADS sensitivity are different values in most games. This converter handles hipfire. For ADS, most players set a relative multiplier of 1.0 (meaning ADS tracks at the same CM/360 as hipfire) and adjust from there. Some games, like Apex, also have separate Legend sensitivity, check in-game after converting.
Not Disabling Windows Pointer Acceleration First
If Windows Enhanced Pointer Precision is enabled, your mouse doesn't move at a consistent speed; it accelerates based on how fast you physically move. This corrupts any sensitivity conversion because the baseline keeps shifting. A slow movement produces one DPI output, a fast movement produces another. The converted number becomes meaningless because your actual sensitivity changes with hand speed. Disable it before testing or converting:
- 1Open Windows Settings
- 2Go to Additional Mouse Settings
- 3Select Pointer Options
- 4Uncheck Enhance Pointer Precision
If you are changing your DPI at the same time, see our guide on how to change DPI on a mouse so both settings are correct before you retest.
Applying the Conversion and Immediately Judging It
Converted sensitivity feels wrong for the first few hours. That's expected. Your muscle memory was trained on the old setting, and your brain is comparing every movement to what it used to know. Players who switch from very high sensitivity to a properly calibrated lower setting often describe the first session as feeling like they're "aiming through mud." That feeling is temporary. Give it a full aim training session or a few real matches before making any adjustments. If it still feels off after genuine practice time, run the conversion again and double-check your DPI with our analyzer.
Expecting Scope and ADS Sensitivity to Convert Automatically
Converted hipfire sensitivity does not carry across to scoped or ADS views automatically. Each game handles zoomed sensitivity through a separate multiplier. After converting your base sensitivity, go into the game's settings and adjust your scope or ADS multiplier separately. A common starting point is 1.0 relative, meaning your scoped CM/360 matches your hipfire CM/360, then adjust from there based on how your tracking feels at range.
High Sensitivity vs Low Sensitivity: Which Is Actually Better?
The honest answer: it depends on the game, your play style, and your mousepad size. But there are real patterns across competitive play.
| Sensitivity Level | eDPI Range | Best For | Main Trade-Off |
|---|---|---|---|
| Very Low | Under 400 | CS2 / Valorant precision, long-range flicks | Needs large pad; 180° turns are slow |
| Low | 400 – 800 | FPS standard for most competitive games | Some reflex tracking requires arm movement |
| Medium | 800 – 1,600 | Balanced for most genres | Slightly harder to pixel-perfect at range |
| High | 1,600 – 3,200 | Overwatch, Apex mobility characters | More hand movement variation = more error |
| Very High | 3,200+ | Rare in competitive play | Difficult to control micro-adjustments |
The pattern across competitive communities is consistent: low sensitivity is better for precision at range, but it demands a large mousepad and the willingness to move your whole arm. High sensitivity makes 180-degree turns and tracking fast-moving targets easier, but micro-adjustments at a distance become unreliable. Most players find their ceiling with high sensitivity before they find it with low.
For Overwatch specifically, the sensitivity range that works is genuinely different from CS2 or Valorant. The game rewards faster camera movement, especially on mobile heroes. Players who transfer their CS2 CM/360 directly into Overwatch often find themselves moving far too slowly. The converter accounts for this; you won't just get the same number in a different box, you'll get a number that actually replicates the physical feel in a different engine.
Once you've picked your target eDPI and converted your sensitivity, use our Best DPI for Gaming guide to cross-reference with game-specific recommendations.
How to Calculate Mouse Sensitivity Manually (The Math Behind the Tool)
If you want to understand what's happening under the hood, here's the formula:
Formula
For CS2 to Valorant, both use different yaw values, so the calculation isn't 1:1. That's exactly why copy-pasting sensitivity numbers never works between these two games specifically, even though both display sensitivity on what looks like the same scale.
The tool handles all of this automatically. You don't need to know any game's yaw value. But understanding that the yaw variable exists is what separates accurate converters from ones that just divide your sensitivity in half and call it done.
Competitors that skip this technical layer, like the one that confuses Display Settings with DPI settings in Windows, or the one that offers unsourced statistics like "92% reduced missed shots" without any underlying data, are not giving you math. They're giving you guesswork dressed up as precision.
Why Use This Sensitivity Converter
It's Free, Instant, and Requires No Download
Open the tool, enter your numbers, and get your result. No account. No subscription. No software to install. Works in Chrome, Firefox, Brave, Edge, Safari, and Opera GX. The calculation runs in your browser.
Handles DPI Changes Alongside Game Changes
Most converters only convert between games. This one also handles DPI changes at the same time. Switching from 800 DPI to 400 DPI and moving from Apex to CS2? Enter your full current setup and your full target setup. One output. No manual recalculation required. Not sure your configured DPI matches what your sensor delivers? See how accurate a DPI analyzer really is before you enter your numbers.
Shows CM/360 Alongside the Sensitivity Number
You don't just get a number. You get the universal reference point, your CM/360, so you can verify the conversion is correct and use it as your anchor for any future game you pick up.
Game-Specific Yaw Values Built In
The converter uses accurate, up-to-date yaw and engine data for every supported game. Not rough approximations. The same math that pro players and aim trainers use.
Conclusion
Muscle memory is your most valuable asset as an FPS player. Every hour you spend aiming in one game trains your hand to expect a specific feel. When you switch games and that feel disappears, you're not losing skill, you're losing calibration. This sensitivity converter gives it back in ten seconds.
Enter your setup. Convert. Play. The aim you built carries with you.
After you convert, check your click consistency with the double click test to make sure hardware issues aren't hiding inside your results.
Related Tools and Guides
- DPI AnalyzerMeasure the DPI your mouse sensor actually delivers, using nothing but a ruler and your browser.
- eDPI CalculatorMultiply DPI by in-game sensitivity and see where your eDPI sits against the competitive range for your game.
- Valorant to CS2 Sensitivity ConversionThe exact conversion formula to carry your aim from Valorant to CS2 — and the classic mistakes that wreck your muscle memory.
- Mouse Sensitivity AnalyzerEnter your DPI, sensitivity, and game type to get a genre-fit verdict and a tuning range for your aim.
Check your click consistency next
Open the Double Click TestFrequently Asked Questions
It's a tool that translates your mouse sensitivity from one game to another using each game's engine-specific math. It preserves the physical feel of your aim, your CM/360, so your muscle memory works in the new game from day one.
Yes. It's completely free to use, with no account required and nothing to download. Run as many conversions as you need in any session.
DPI is a hardware setting that controls how many pixels your cursor moves per physical inch of mouse movement. In-game sensitivity is a software multiplier applied by the game engine. Your eDPI (effective DPI) is the combination of both and represents your real aim speed.
CM/360 is how many centimeters you physically move your mouse to complete one full 360-degree rotation in-game. It's the most reliable way to compare sensitivity across different games and DPI settings because it measures actual physical movement, not software numbers.
The tool supports all major FPS and shooter titles. For games not in the list, you can use CM/360 as a manual bridge, convert to CM/360 first, then use the target game's sensitivity formula to calculate the matching value.
Three possible causes. First, Windows Enhanced Pointer Precision may be enabled; disable it before playing. Second, your real DPI may differ from the configured value (use a DPI analyzer to check). Third, muscle memory takes time to adjust; give it a full session before evaluating. The math is correct; the feeling catches up.
It affects your actual hardware DPI output, not the conversion math itself. A cloth pad creates micro-friction that can cause your sensor to slightly under-report movement. If you want the conversion to be as accurate as possible, measure your real DPI first rather than relying on the value in your mouse software. Glass and hard surface pads tend to track more consistently.
It varies significantly by game. CS2 professionals typically use 400–800 DPI with a low in-game sensitivity, resulting in eDPIs of 400–1,000. Overwatch 2 pros run much higher eDPIs, often 3,000 to 7,000, because the game demands faster character and camera movement. Match your converted sensitivity to the genre standard, not the raw number.
No. Higher DPI means more pixels of cursor movement per physical inch, which actually makes fine micro-adjustments harder at range. Most competitive players stay in the 800–1,600 DPI range and control their real-world aim speed through in-game sensitivity. Running 3,200 DPI or higher with a low in-game sensitivity achieves roughly the same eDPI as 800 DPI with a moderate sensitivity, but without the precision benefits of a lower hardware DPI setting.